


Sometimes in life, we need a little nudge and reminder of just how wonderful we are. Or sometimes, you just want to let a friend know just how beautiful and inspiring they are in your eyes. I have a friend like that. And I have my moments too where I’m that person. But she deserved this.
It’s no Mona Lisa, but, I keep hearing it’s the thought that counts. 😉
This was my first attempt at using my Silhouette Cameo with the pen holder. Friends, my life has been forever changed. I thought print and cut was my favorite thing (and I’m sure it will be every other week), but these pen holders have opened up a brand new avenue for creativeness that I did not know was possible for me. I can address envelopes in schfancy calligraphy while secretly making people think I have the handwriting of an angel.
I can outline an image with pen and color it in with marker, alluding to the idea that I know how to color in the lines (nope, still can’t at 26).
I am here to tell you, that if you can’t draw, have no fear; your Silhouette can, and will for you!
Here’s what I did.
I found a giant book of colored and embossed cardstock at Hobby Lobby’s (don’t forget to use your 40% off coupon!). I found a page that I thought the quote would fit well in, and measured the diameter of the circle on the page. I then drew a circle on my software, and went ahead and clicked scale, and manually input 9″ for height and width.

I found 3 different fonts that were free on dafont.com, and I used those to write out my quote.
This was the hardest part: I had to play around with positioning the words so they not only fit perfectly inside the circle, but flowed well enough that when you read the quote – it made sense. This was the most time consuming part of the project, and I moved the words around hundreds of times, but when I had them in the perfect position I just knew.
I then colored in the words using the fill button at the top so I could get a great visual of what it would look like on paper. I won’t lie – I totally googled “red color palette” to make sure my colors wouldn’t clash.

When I had everything where I wanted it to be, I deleted the circle (this is an important step), loaded my cardstock page onto my mat, inserted the pen holder with said ball point pen, and let it run. Make sure you change your settings on your computer for Sketch Pen, and that your cut settings are for “cut edge.”
 This is what your preview should look like when you’ve correctly selected “cut edge” and “sketch pen.”
After the entire piece had been outlined with a ball point pen, I had to go back select every word that was going to be in a color group (say orange; I only selected “created to be, you will set”) and inserted my orange fine Sharpie into my pen holder, and watched it color in the word.
Here’s the finished product.


I hope this left you feeling inspired.
What projects have you tackled with your sketch pens?
Want to Check Out More Silhouette Projects?
My Silhouette Challenge buddies and I are all sharing projects on our blogs today, so peruse the projects below for a wealth of Silhouette inspiration!
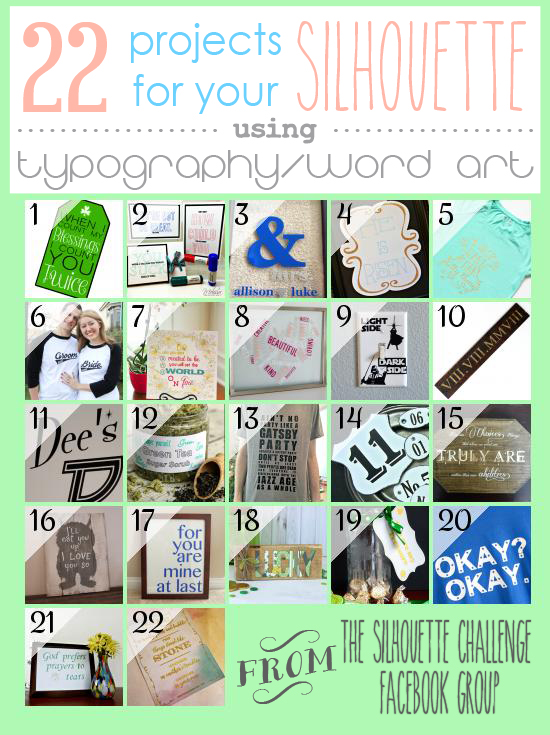
1. My Paper Craze // 2. The Stamp Doc // 3. Peanut Life Adventures // 4. Creative Ramblings // 5. Pitter and Glink // 6. The Thinking Closet // 7. Single Yet Married Mom // 8. unOriginalMom // 9. Sisters, What! // 10. Where The Smiles Have Been // 11. From Whine to Whine // 12. Adventures in All Things Food // 13. Practically Functional // 14. Patina Paradise // 15. Please Excuse My Craftermath… // 16. Weekend Craft // 17. Two Purple Couches // 18. Ribbons & Glue // 19. TitiCrafty // 20. Simply Kelly Designs // 21. Confessions of an Overworked Mom // 22. Get Silvered

Wow, this is beautiful! I haven’t played with the sketch pens much but you have inspired me to take another look at them!
LikeLiked by 1 person
What a wonderful comment to read! I love hearing that I’ve helped spark a flame of inspiration and creativity in someone. 🙂 Can’t wait to see what you end up doing!
LikeLike
That is very neat. I definitely need to get some sketch pens!
LikeLiked by 1 person
Thanks Ellen! I bought the Silhouette pen holders and used my own pens 🙂
LikeLike
Gabriela what a great job! Love the paper that you chose to! I thought you had drawn those flowers so real looking.
LikeLiked by 1 person
Oh gosh, I wish! I think a lot of people thought that at first too, and then were very let down. haha! But that makes me feel better knowing the sketches and the paper work well together so one doesn’t stick out like a sore thumb.
Thank you so much for your compliment, makes me feel so great!
LikeLike
Looks awesome Gabriela – all that swapping over of pens and grouping really paid off – it looks wonderful in all the colours.
LikeLiked by 1 person
Thank you Pam!
LikeLike
Spectacular project! Thanks for sharing. Tip: Since you are using V3, you can “cut” by line or fill color, so there’s no need for grouping, just check/uncheck the appropriate boxes. You can even have it pause for pen changes!
LikeLike
Thanks Kay!!
I think maybe “grouping” was the wrong word. I just meant I selected the words I wanted colored the same color 🙂 I’ve never tried the pause option! Knowing me I would mess it up that way 😉 Thanks for the tips though!
LikeLike
Gabriela, I just love this so much. It really got me thinking about one I could make. So I have found some of my favorite quotes and I am going to make them for over my desk. After all I have all this paper laying around might as well put it to good use and fire up the ole Silhouette.
Thanks for the great idea.
LikeLike
Thanks Leah! I can’t wait to see that crib set up, by the way!!!
LikeLike
So we are almost done with the room, just one more project. Check back and we will have the whole thing here so you can see it! Thanks for following…
LikeLike
I just joined the challenge group on facebook AND just tried out the sketch pens a few days ago and I love both! I love what you did with them! I was a little bit reserved with mine as I’m just starting out (only bought the silhouette a week ago…). I did not know you could use sharpies! Did you use a different setting (other than cut edge) for the sharpie to fill in the words?
Thanks again for sharing!
–Brittany
LikeLiked by 1 person
Did cut edge not work for you? Maybe try just cut and see if that will do the whole thing. I haven’t had any issues with cut edge…yet! 🙂
LikeLike
No, it works out great! I was more referencing the word “world”…did you use a different technique for that?
LikeLike
Oh, that was a special font that I used that came out like that. I would suggest using a fine point sharpie for that. I’ll have to look up the font for you, as my computer went bonkers shortly after posting this post and I had to re add everything. It was a free font on http://www.dafont.com 🙂
LikeLike
Love this project! The colors and the flowers look fantastic. Thanks for sharing your project and insights on sketching!
LikeLiked by 1 person
Thank you Kristy! Love getting messages like these 🙂
LikeLike